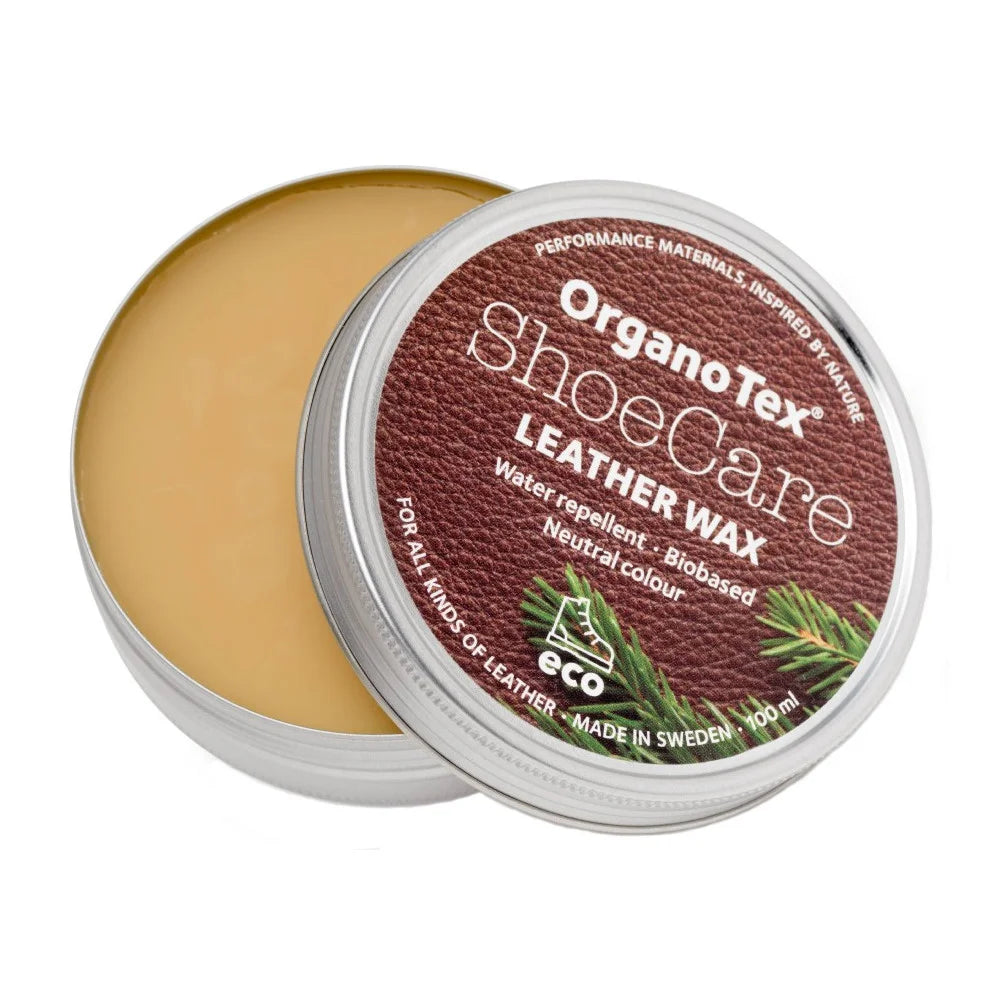
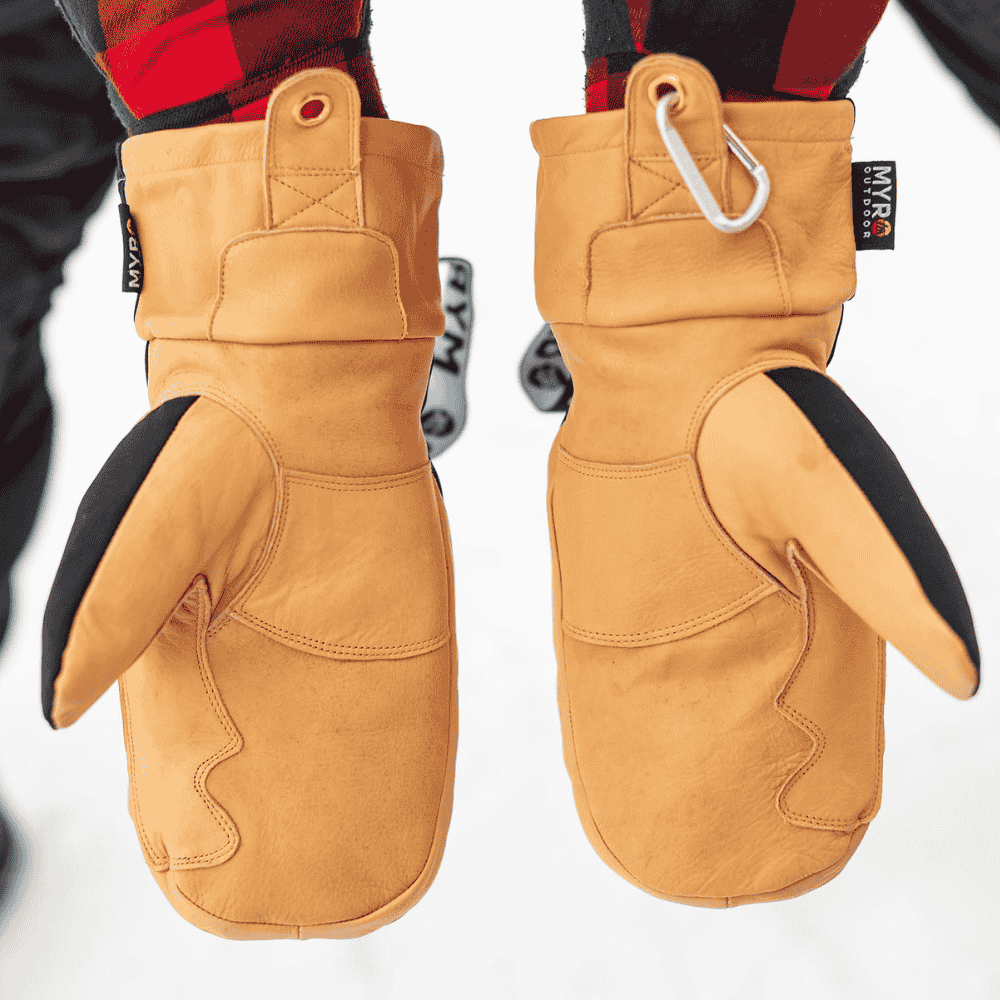
Waxing your thumb gloves with leather wax is a great way to improve their water repellent properties and extend their life. Here is a simple guide on how to do it, we use exclusively by the Swedish -made leather wax from Organotex
What you need:
- Organotex leather wax
- Your thumb gloves Arvidsjaur Mitts
- A clean cloth or a brush
- A hair dryer (optional)
Step-by-step guide to wax your thumb gloves:
Prepare your thumb gloves:
Start by making sure your thumb gloves are clean and free of dirt and dust. If they are dirty, use a clean cloth or a brush to gently remove the dirt.
Apply organotex leather wax:
Open your organotex leather wax can and use your fingers or a soft cloth to apply the wax to your thumb gloves. Work the wax into the leather evenly and focus especially on the areas most exposed to water exposure, such as the top of the glove and fingers.
Allow the wax to absorb:
After applying the wax, let it sit for a few minutes so it can be absorbed into the leather. This will help improve water resistance and durability of your thumb gloves
Heat treatment (optional):
If you want to speed up the absorption of wax and make it more efficient, you can use a hair dryer on low heat and gently heat your thumb gloves. Keep the hair dryer at a distance and stir it evenly over the gloves until the wax melts and absorbed in the leather. Be careful not to overheat or burn the leather.
Polish your thumb gloves:
After the wax has been absorbed in the leather and your thumb gloves have cooled, use a clean cloth or a brush to polish them. This will give them a nice shine and further improve water resistance.
Summation: Now your thumb gloves are ready to resist moisture and keep you warm and dry under cold and wet conditions. Regular waxing will extend the life of your gloves and make them even more durable. Keep in mind that you may need to repeat the waxing process over time, especially if you often expose your gloves to moisture and wear.


